
So the boys and I ventured to make our own graggers! Below are the instructions. If you have never celebrated Purim, I encourage you to make this easy craft with your children. Even small toddlers can accomplish this craft. Then, have them dress in costume (any sheet can make a biblical costume and couple that with a self-made crown and you have Queen Esther and King Ahasuerus already!) and read the Purim story out loud to them. Don't be afraid to read the whole story from your own bible, rather than a children's bible. The fun is getting to boo and yell during the story, so wait patiently after each main character's name to give them a chance to join in the fun. Have a blessed Purim filled with lots of Simcha (Joy)! Party on!
 These graggers turned out so great and are really loud! The boys can't wait to take them to the Purim Spiel on Friday!
 Paper Plate Gragger Instructions

Items Needed:
buttons, beads or dry beans
water colors
sponge craft brush
2-3 pipe cleaners
gift wrap ribbon assortment
single hole punch
1. Let the children paint their own original designs on the bottom of the plate.


2. After the plate is dry, fold it in half, and punch holes around the edges. Be sure to hold the sponge craft brush in place on one end and make sure the first two hole punches are close enough that the beads won't fall through but far apart enough to fit the handle of the brush through. Then punch the rest of the holes about 1/2 inch apart.

3. Let the children choose which buttons or beads they want to use and set them aside. It doesn't take much to make the noises. My children picked out about 3 times more than we needed, but that's okay. They didn't notice that I didn't use them all.
4. Cut 8 inch strips of the ribbons. You'll need enough for half of the amount of holes that you made around the edge of the plate.

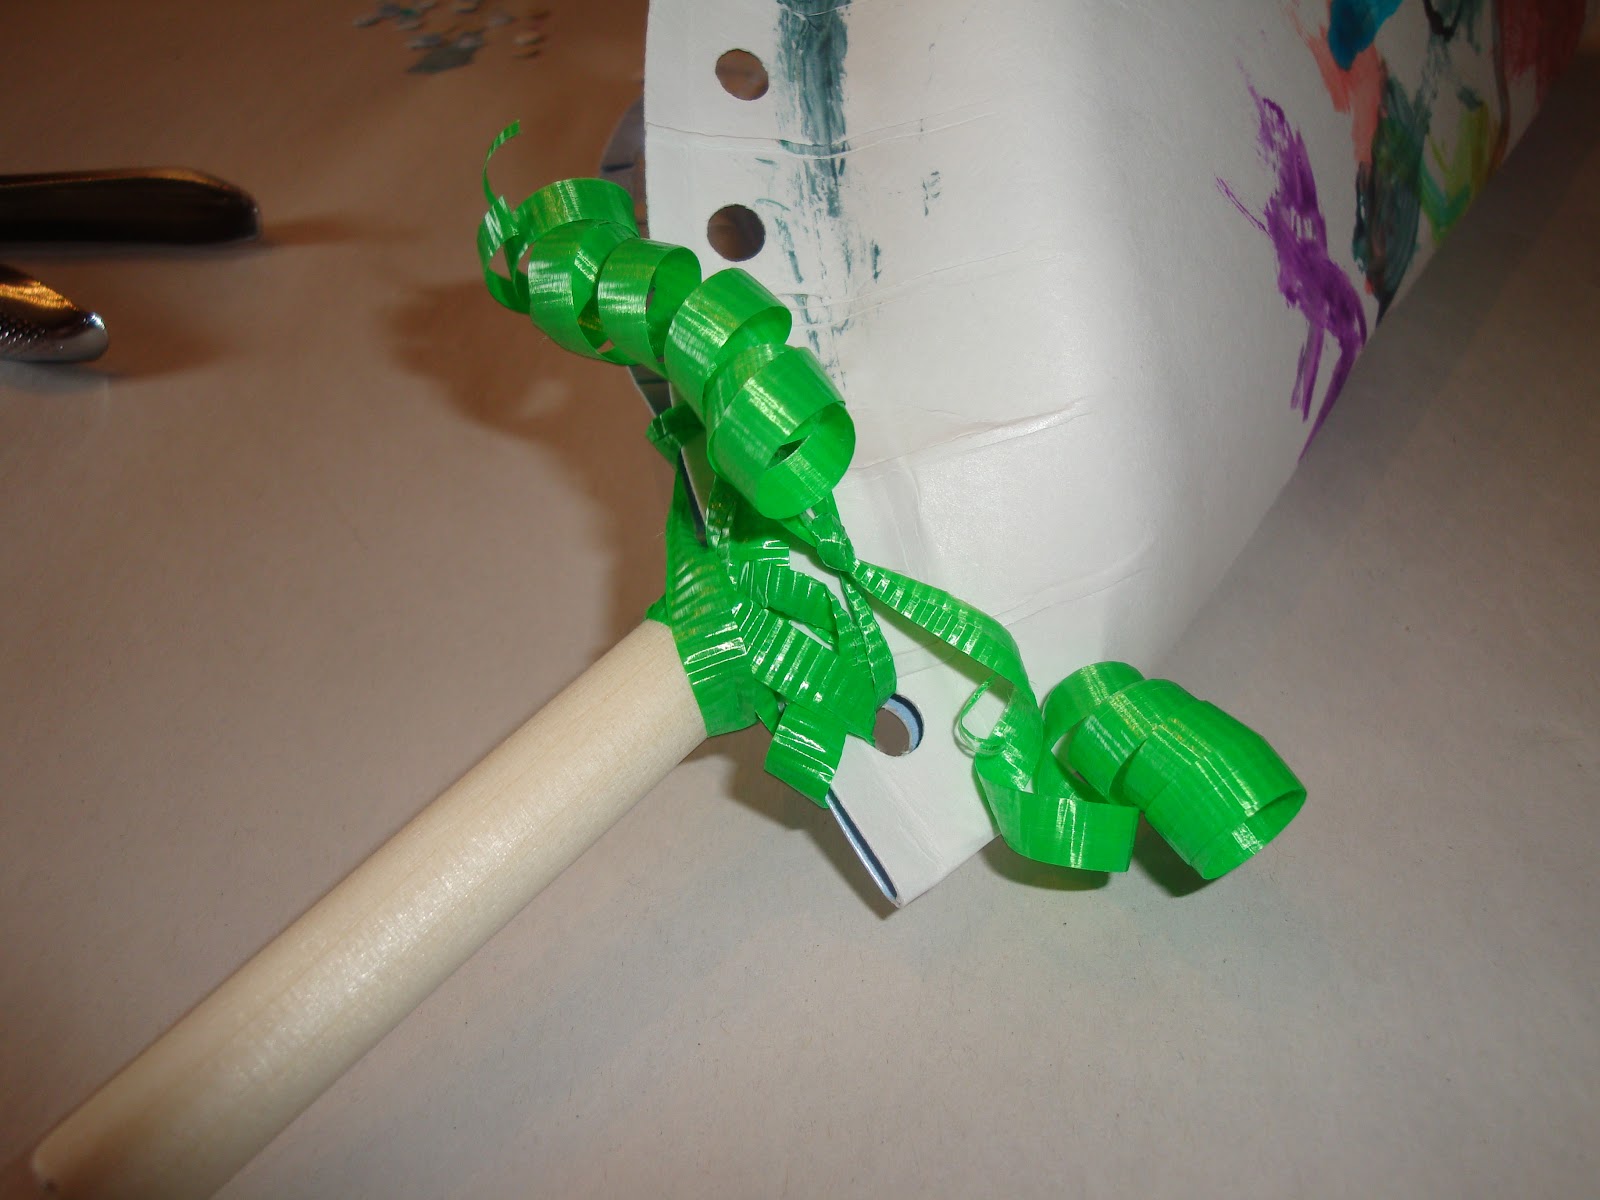
5. Cut 4 feet of one ribbon color. I let each of the boys choose their favorite color. This also helps in identifying their own gragger later! Use this longer ribbon to tie and wrap around the sponge craft brush. I folded it in half first, then tied it to the brush, then looped it around and through the first two punches I designated for it earlier.

6. Carefully place the beads and buttons in the paper plate. Then tie the remaining 8 inch strips of ribbon on every other hole punched from the handle. If the children are too small to tie, let them choose which color comes next.


7. Let the children use the pipe cleaners to weave through all the holes along the edge. Any way they choose as long as they get it nice and tight so no beads fall out. Weave ends in. This is perfect for toddlers and preschoolers to practice those motor skills!


No comments:
Post a Comment